02 — How it’s made
From place to object.
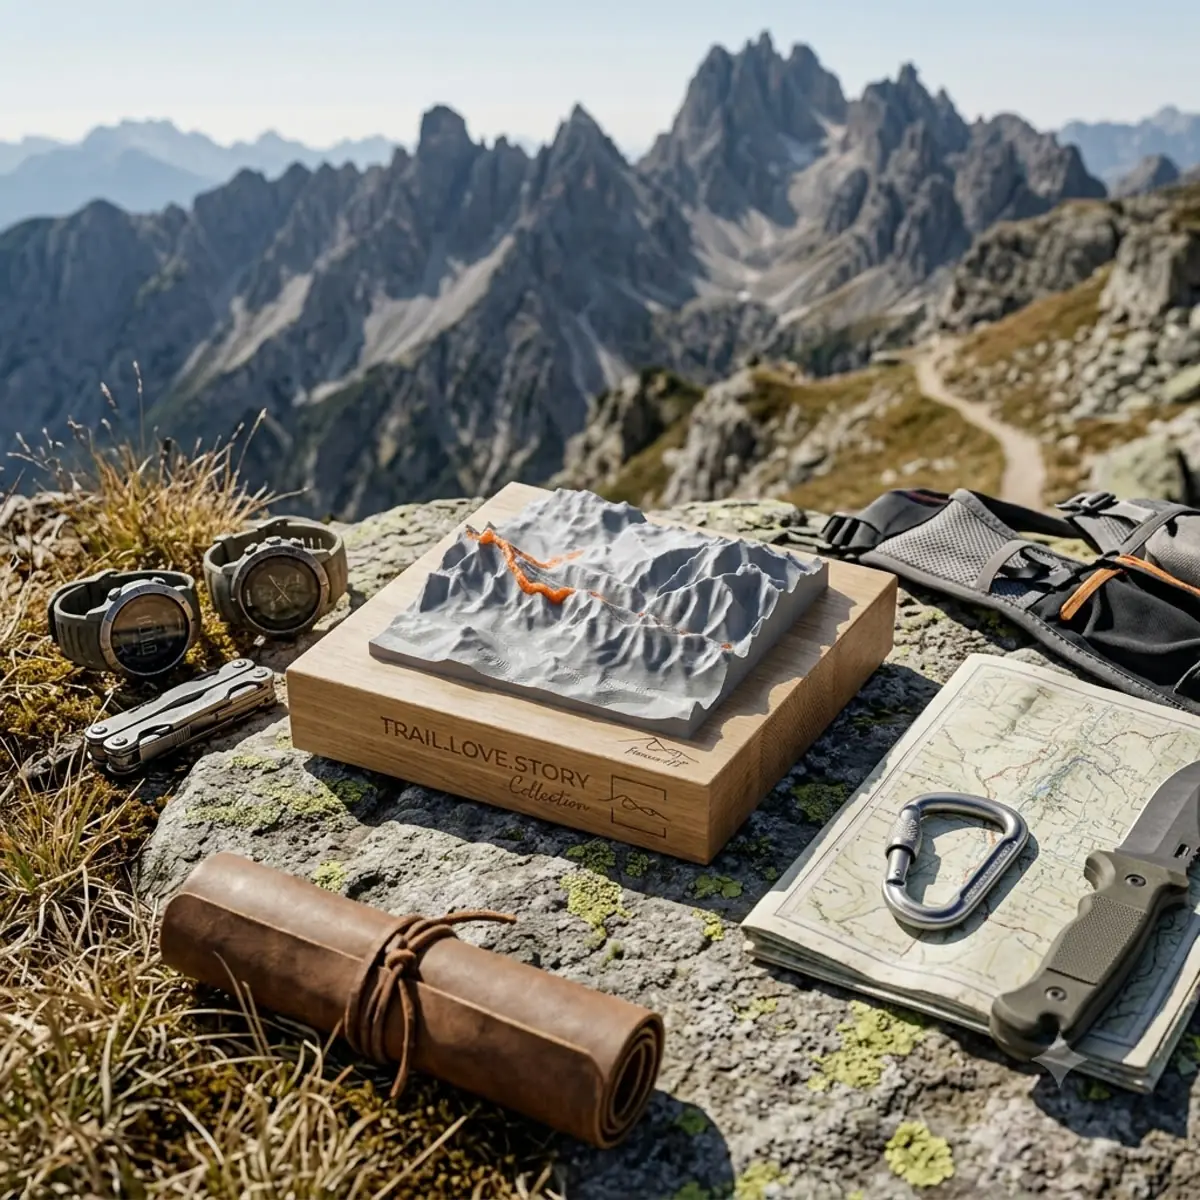
Seven steps from a real landscape to an object that fits in your palm. The sample route is an indicative climb from Pec pod Sněžkou through the Obří důl valley to Sněžka.
-
Step 1 / 7
A landscape from precise data
The map rises into real terrain. An elevation model accurate to ±3 m captures every ridge and valley. This is Sněžka, 1,603 m, with the Obří důl valley below.
-
Step 2 / 7
Your path in the terrain
Upload a GPX track or pick a summit, and the route becomes part of the relief. Here: an indicative climb from Pec pod Sněžkou through Obří důl to the summit.
-
Step 3 / 7
Shape is made of layers
We break every shape into layers. The technology sets their thickness: millimetre boards along the contours for the laser, fractions of a millimetre for 3D printing.
-
Step 4 / 7 Coming soon
Laser: cut along the contours
A precise laser cuts each contour from its own board, and we stack the boards. The result is a terraced relief with crisp edges and the dark rim the cut leaves behind.
-
Step 5 / 7
3D printing: layer by layer
Modern 3D printing builds the relief a fraction of a millimetre at a time, from corn-based bioplastic. The route is printed in its own colour, so it is part of the relief, not a sticker on top.
-
Step 6 / 7
Signed by the place
The laser engraves the name, coordinates and piece number into a rubberwood stand. We then finish the wood with natural oils.
-
Step 7 / 7
Ready within 14 days
Your finished object comes with a Birth Certificate and a Certificate of Authenticity. Every piece is made to order, and production takes no more than 14 days.
Design your own →